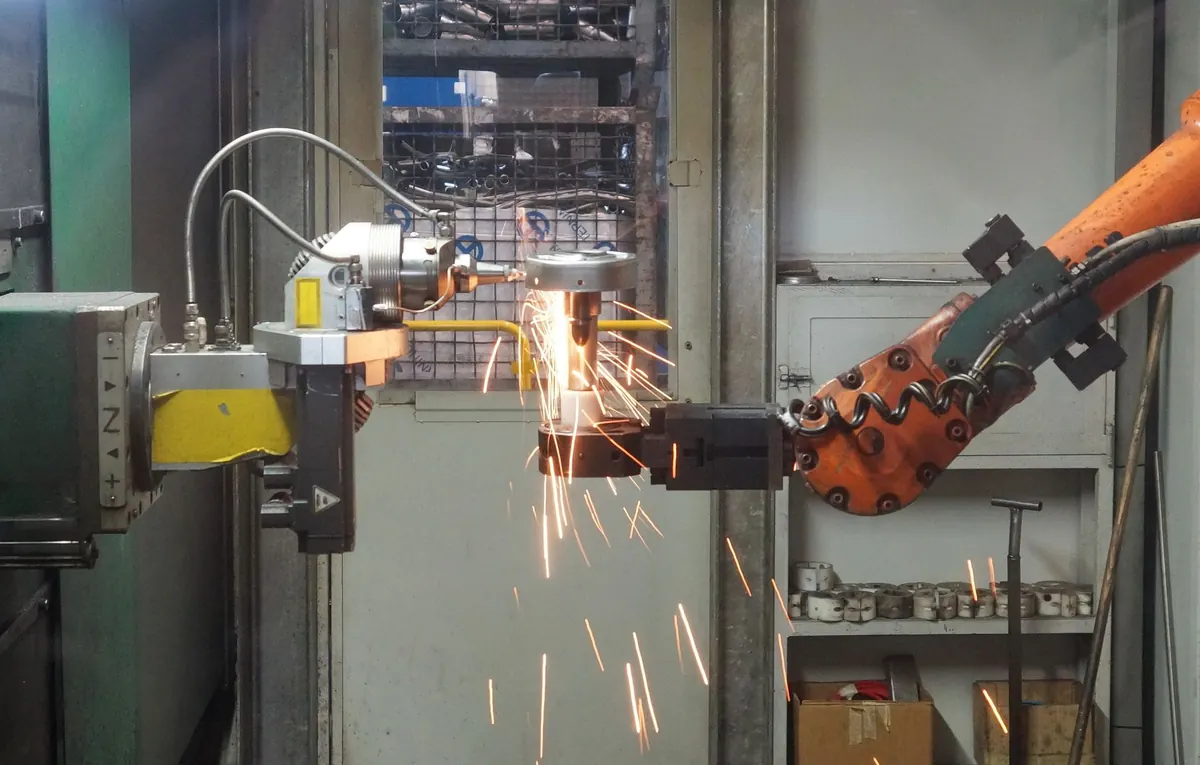
Most robot cell incidents happen at predictable moments: after a changeover, following a maintenance visit, or first thing in the morning when the cell has sat idle overnight. The robot doesn't know you're in a hurry. A short, disciplined walkthrough before startup catches the small failures — a gate that doesn't latch, a light curtain left muted, a pendant resting inside the fence — while they're still small.
What follows is the sequence experienced integrators and cell operators tend to work through. Adapt the details to your own risk assessment, but keep the order: nothing moves until the safety chain is proven.
1. Confirm the Emergency Stop Chain
Walk the cell and press every emergency stop. All of them: the operator panel, the pendant, the load station, the far side of the fence, any remote station. Each press should drop drive power to the robot, engage the brakes, and latch a fault that requires a deliberate reset. You're testing the whole chain behind the button — wiring, safety relay or safety controller, contactors, drive inputs.
Two details matter. A reset must never restart motion by itself; motion should need a separate, intentional command. And if any device has been bypassed, taped over, or jumpered "just for now," treat it as a stop-the-line problem rather than a note for later. A defeated interlock is the most common way a well-guarded cell quietly becomes an unguarded one.
2. Check Guarding and Physical Access
Fencing fails slowly. Look for panels that were moved and not re-bolted, missing fasteners, sagging gate hinges, and openings that grew when a cable tray or conveyor was added. Stand where a person could reach over, under, or through, and ask honestly whether they could reach a hazard before the robot stops.
Doors and interlocks
Every entry point needs a working interlock, and the robot must not be able to run in automatic while that door is open. Open each gate by hand and watch the robot's response. Then check the reverse: with the door closed and the cell in automatic, confirm the interlock can't be defeated by a loose latch or a magnet that no longer aligns.
Beyond the fence
Floor markings, barriers, and signage are guarding too. A cell that looks safe but sits beside a blind corner where a forklift passes is a cell that will eventually be hit.
3. Verify Presence-Sensing Devices and Blind Spots
Light curtains, safety laser scanners, and safety mats do the daily work fencing can't — letting operators load parts without walking the long way around. They also drift. Check lens covers for dust and coolant film, confirm brackets haven't been bumped, and test each device with the correct test piece or by interrupting the field as the manufacturer's instructions describe.
Scanners deserve extra attention, because their fields can be reconfigured and the space they monitor changes when the cell does. Ask:
- Do the active field sets still match the current layout and operating mode?
- Has anything been stored inside the monitored area — a pallet, a bin, stacked fixtures — that now casts a shadow?
- Is muting limited to the short, non-hazardous part of the cycle, with sensors a person can't trip?
- Does the device fail safe when the field is interrupted, rather than pausing the cycle and resuming when the person steps away?
4. Training, Roles, and Who Goes Inside
Equipment doesn't protect people who don't know the rules. Before startup, confirm everyone working near the cell has documented, task-specific training and knows where the nearest emergency stop is and how to reach it without looking. Pendant control belongs to one person at a time, and that person keeps the pendant with them — never on the floor inside the fence.
During automatic operation, nobody is inside the safeguarded space. Entry is a deliberate sequence: switch to manual or reduced speed, isolate drives where required, and follow lockout/tagout for anything that still moves or stores energy — pneumatics, hydraulics, gravity-loaded tooling. If two people genuinely need to be inside, name one person in charge and agree on the exit and restart signal before the door opens.
5. Maintenance Records, Wear, and Change Control
Safety depends on mechanical condition as much as on switches. Look at the dress pack and cable runs for chafing, check gripper jaws and tooling fasteners, listen for air leaks, and confirm brake and stopping performance after any change to payload, speed, or end effector. Heavier tools and faster moves lengthen stopping distance.
Records are how a cell tells the truth over time. A brake test, a cable replacement, an interlock adjustment, a speed change — each gets a date and a name. Change control is the other half: a new gripper, a new part, or a rearranged layout invalidates the assumptions behind the guard design, so re-run the risk assessment and re-verify safeguarding before the cell returns to production.
The Ten-Point Pre-Startup Walkthrough
Run this at the start of each shift and after any intervention.
- All emergency stops tested and latching, with no devices bypassed.
- Reset verified: it clears the fault but does not start motion.
- Fence panels, gates, and fasteners intact.
- Every entry interlock stops automatic operation.
- Light curtains, scanners, and mats tested and clean.
- Muting and scanner field sets match the current layout.
- No people, tools, or pallets inside the safeguarded space.
- Only trained, authorized staff on the floor; pendant accounted for.
- Brakes, cables, tooling, and air lines inspected.
- Maintenance log and change records current.
If you can't explain why a safeguard is disabled, stop and find out before the cell runs.
Print the list, tape it to the control panel, and edit it for your cell. A checklist that matches the machine gets used; one that doesn't gets ignored. Requirements vary by country, industry, and robot model, so treat this as a starting point and confirm the specifics with your site's safety engineer and the manufacturer's instructions.
Photo: alex / Pexels